
Step 1: Prepare the Cake Batter
Preheat your oven to the temperature specified on the cake mix package, usually around 350°F (175°C).
Prepare the cake mix by following the instructions on the package. Typically, you’ll need to add ingredients such as eggs, oil, and water. Use a hand mixer or whisk to combine everything until smooth.
Pour the batter evenly into a 9×13-inch baking pan. Spread it out to make sure the surface is level for even baking.
Bake the cake according to the directions on the cake mix package, typically for about 25-30 minutes or until a toothpick inserted into the center comes out clean.
Step 2: Cool the Cake
After baking, remove the cake from the oven and allow it to cool at room temperature for about 30 minutes. This gives the cake time to set and makes it easier to create the perforations for the gelatin.
Step 3: Create Perforations in the Cake
Once the cake has cooled slightly, it’s time to create the holes for the gelatin to seep into:
Use the end of a wooden spoon or a meat fork to gently poke evenly spaced holes across the surface of the cake.
Make sure the perforations are deep enough to go halfway through the cake but not all the way to the bottom. The holes will allow the raspberry gelatin to soak in, ensuring the flavor infuses throughout the cake.
Step 4: Prepare the Gelatin
Now it’s time to prepare the raspberry gelatin:
In a separate bowl, combine the raspberry-flavored gelatin with 2 cups of hot water. Stir the mixture until the gelatin is fully dissolved.
Pour the gelatin evenly over the surface of the cake, making sure it fills all the holes and seeps into the cake. The gelatin will give the cake its vibrant raspberry color and fruity flavor.
Step 5: Apply the Raspberry Preserves
To add another layer of flavor:
Warm the raspberry preserves in the microwave for about 30 seconds to soften it, making it easier to spread.
Spread the warmed preserves evenly over the gelatin-covered cake. This adds a sweet and fruity layer that complements the tangy raspberry gelatin perfectly.
Step 6: Add the Whipped Topping
Spread the thawed whipped topping carefully over the raspberry preserves. Use a spatula to create a smooth, even layer.
The whipped topping adds a creamy texture that contrasts nicely with the moist cake and tangy fruit layers.
Step 7: Garnish with Shredded Coconut
Sprinkle the unsweetened shredded coconut evenly over the top of the whipped topping. This adds a light crunch and a touch of coconut flavor that balances out the sweetness of the cake.
Step 8: Refrigerate the Cake
Place the cake in the refrigerator for at least 4 hours, or overnight if possible. Chilling the cake helps the flavors meld together and allows the gelatin to fully set, giving the cake its perfect texture.
Step 9: Serve and Enjoy
Once the cake has set in the refrigerator, it’s time to serve:
Slice the cake into generous portions and serve chilled. The combination of the soft, moist cake, the creamy topping, and the crunchy coconut will make every bite a delight.
Store any leftovers in the refrigerator, covered, to maintain freshness.
Why You Should Try Raspberry Zinger Poke Cake
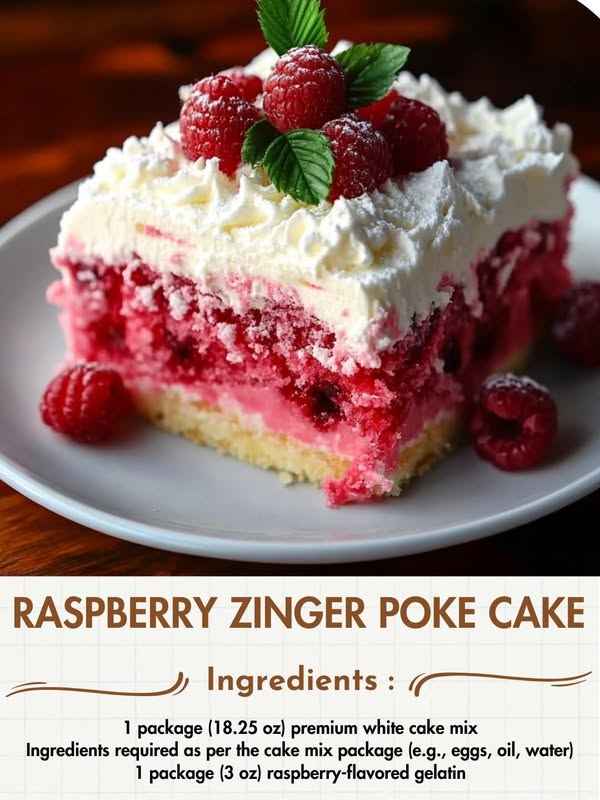
The Raspberry Zinger Poke Cake is a show-stopping dessert that’s as easy to make as it is delicious. With its fruity raspberry flavor, creamy topping, and light coconut garnish, this cake is the perfect treat for any occasion. Whether you’re celebrating a birthday, hosting a party, or simply treating yourself to something sweet, this cake is sure to be a crowd-pleaser.
What’s more, the poke cake method ensures that every slice is bursting with flavor. From the moist cake base to the creamy topping, every bite is an explosion of fruity and sweet goodness. It’s the perfect balance of textures and flavors that make it a standout dessert.
So, the next time you’re looking for a fun and delicious dessert, give the Raspberry Zinger Poke Cake a try. You won’t be disappointed
